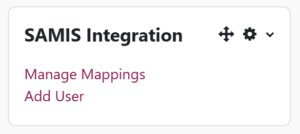
Locating the SAMIS integration block
The SAMIS integration block should appear by default on the right-hand side of your Moodle space within the expandable Block drawer.
Should it not appear, the SAMIS Integration block can be added to any Moodle space as follows. Only someone with Teacher permissions within a given course can add additional blocks.
- Turn editing on function (found at the top right of the Moodle space)
- Within the block drawer, click Add a block and select SAMIS integration from the list.
Understanding the Manage Mappings interface
Once you have added and located the SAMIS Integration block, you will need to understand how the Manage Mappings interface works.
This window will display a list of all the courses that you have Teacher access to. Identify the course to which you wish to add additional cohorts and expand the reference to it by pressing the expand icon (+).
Mappings
Typically, you will see one of two views for each Moodle space.
1. No Mapping
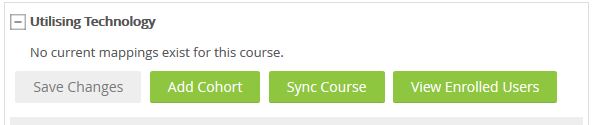
2. Default and/or User created mappings
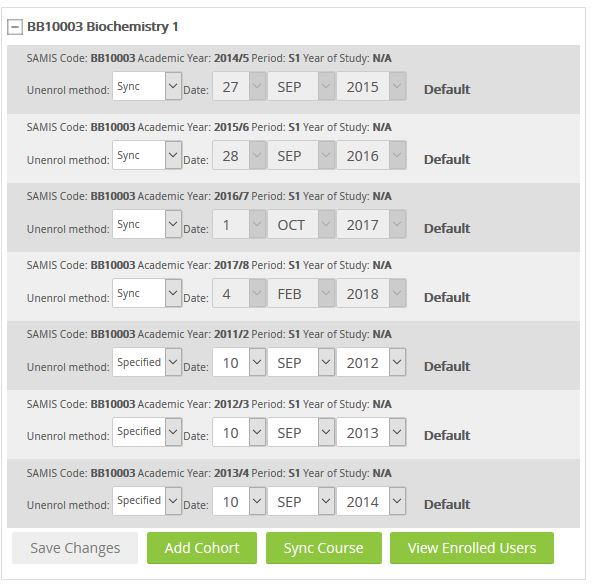
Cohort mappings are typically referred to as either default or bespoke.
A default mapping is one that is applied automatically to a space, having been identified the relevant SAMIS code for that unit. This means that if your Moodle space represents a SAMIS unit or course (and has the relevant SAMIS code) that the corresponding cohort of students will be automatically enrolled – assuming they are correctly registered in SAMIS.
A bespoke mapping however is user defined – enabling additional (non-default) cohorts to be added to the space. These can be removed at any point, if required.
Buttons
You will see four buttons, each of which is explained below.

- Save Changes – Allows you to save any changes that you have made whilst working with the Manage Mappings interface. Should you close the window without saving your changes, you will be prompted to do so.
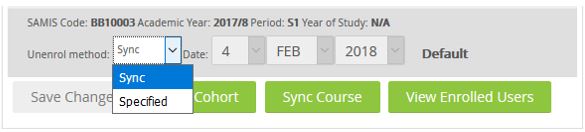
- Add Cohort – Allows you to add one or more course or unit mappings. This interface below will appear on clicking this button. You will notice thatwhen adding a cohort you have the ability to amend the Unenrol method from the drop-down menu.
- Sync – if a cohort is registered on SAMIS for a unit for semester 1 they have access to the Moodle space for that period only.
- Specified – you can select any future date when the cohort will be automatically unenrolled from the Moodle space.
- Sync Course – Mappings synchronise with SAMIS on a nightly basis – Sunday to Thursday inclusive. To synchronise all cohort mappings for the Moodle course with SAMIS immediately, you should press this button.
- View Enrolled Users – Allows you to view who is enrolled on your Moodle space, their enrolment method and when they are due to be un-enrolled from the course.
