Published on: 23/09/2024 · Last updated on: 11/04/2025
What is TinyMCE?
TinyMCE is a powerful rich-text editor built into Moodle that helps you create formatted content within a user-friendly interface. It is presented to you when you edit a Moodle resource or activity that supports free-text entry (and other media), including:
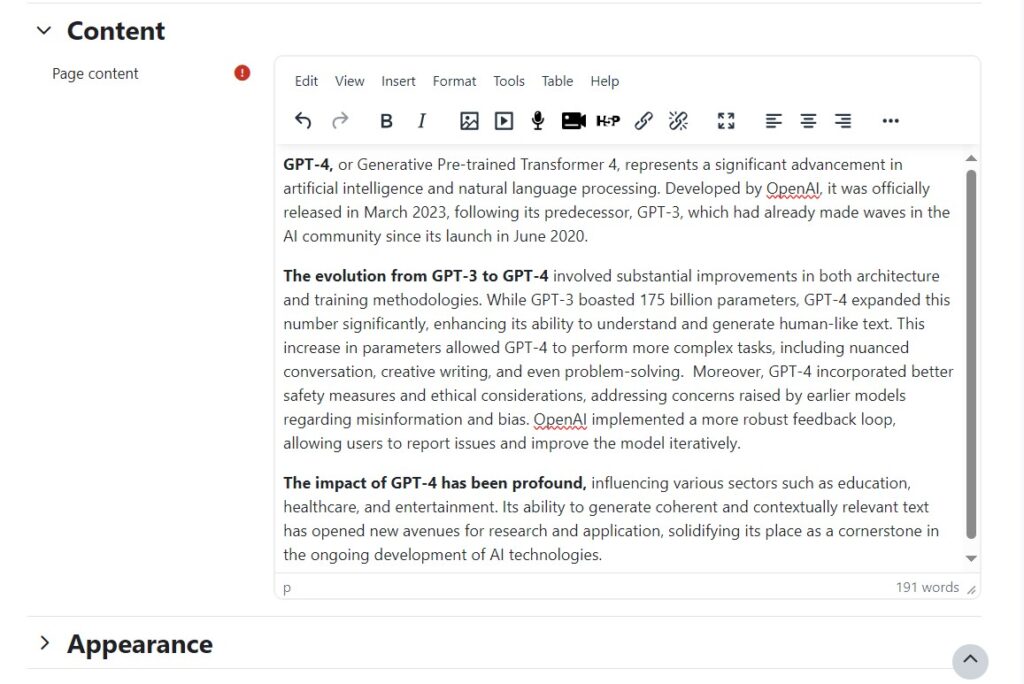
Example: Creating Moodle PAGE content
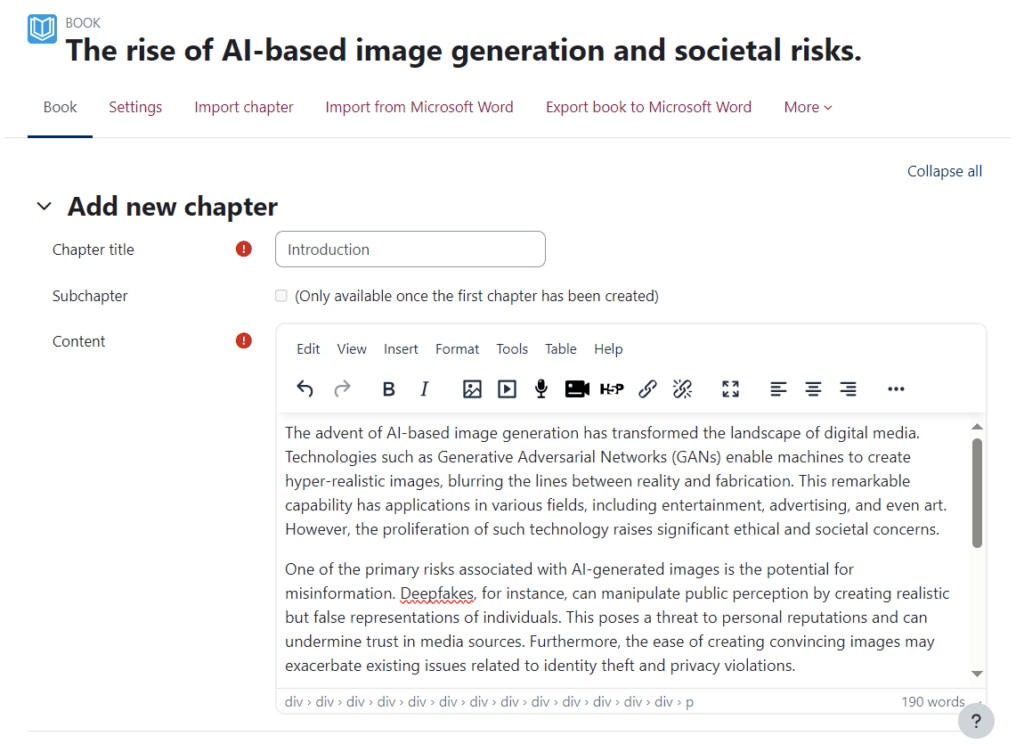
Example: Creating CHAPTER content in a Moodle book
More introductory information about TinyMCE
Tour of TinyMCE’s tools and features
Watch this video overview or see this fully annotated toolbar. For more information expand one of the accordion sections below:
Add and edit text in Moodle (YouTube)
Basic text formatting options to make text bold and italic can be selected by clicking the appropriate button on the main toolbar:

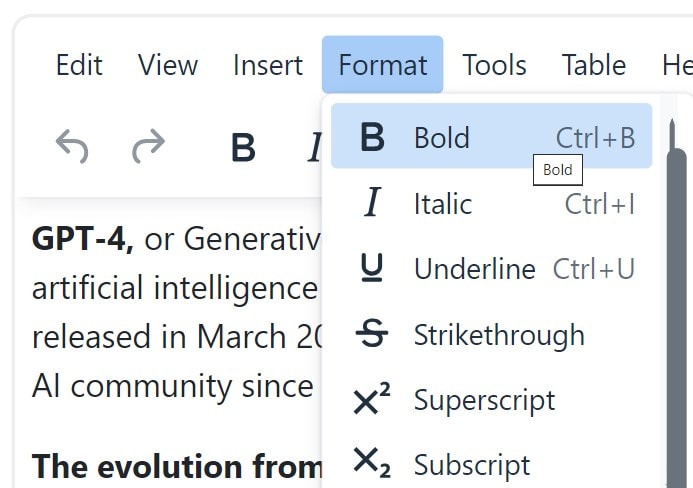
Additional text formatting options including underline and subscript/superscript can be found in the Format menu:
1: Click on the Image icon on the main toolbar:
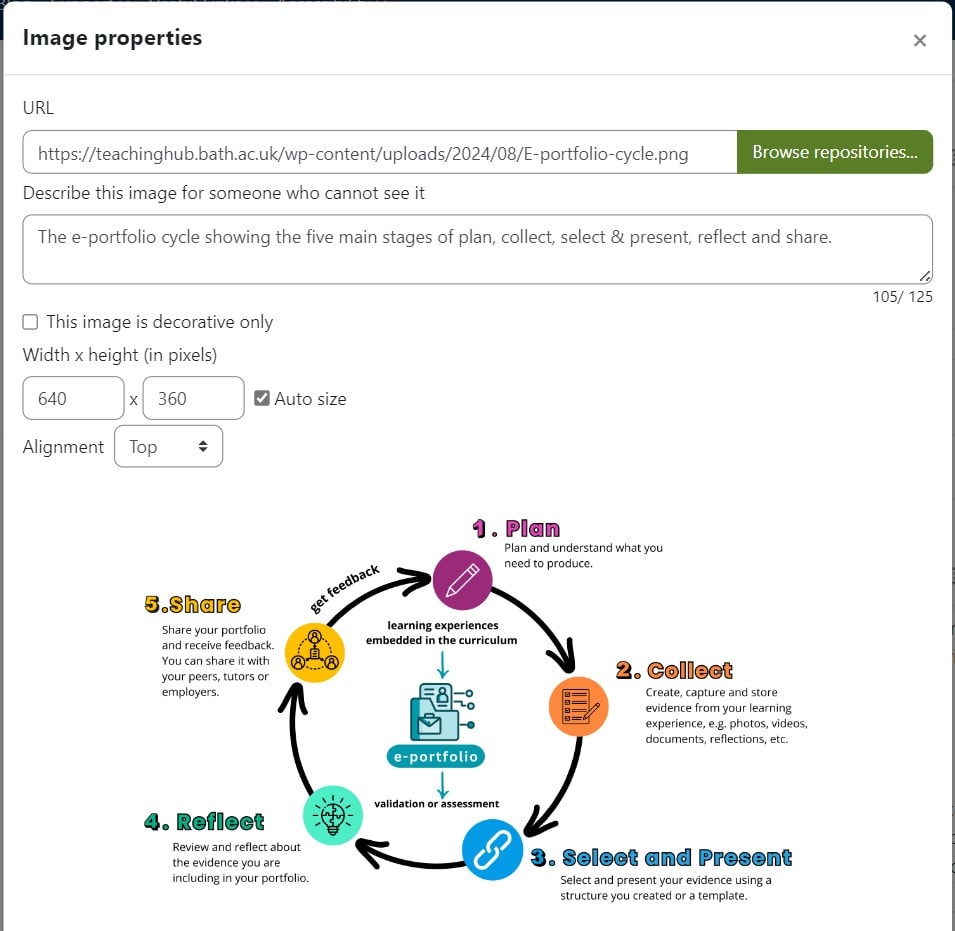
2: If the image you want to use already exists elsewhere on the web, paste the full URL in the URL field and continue from there:
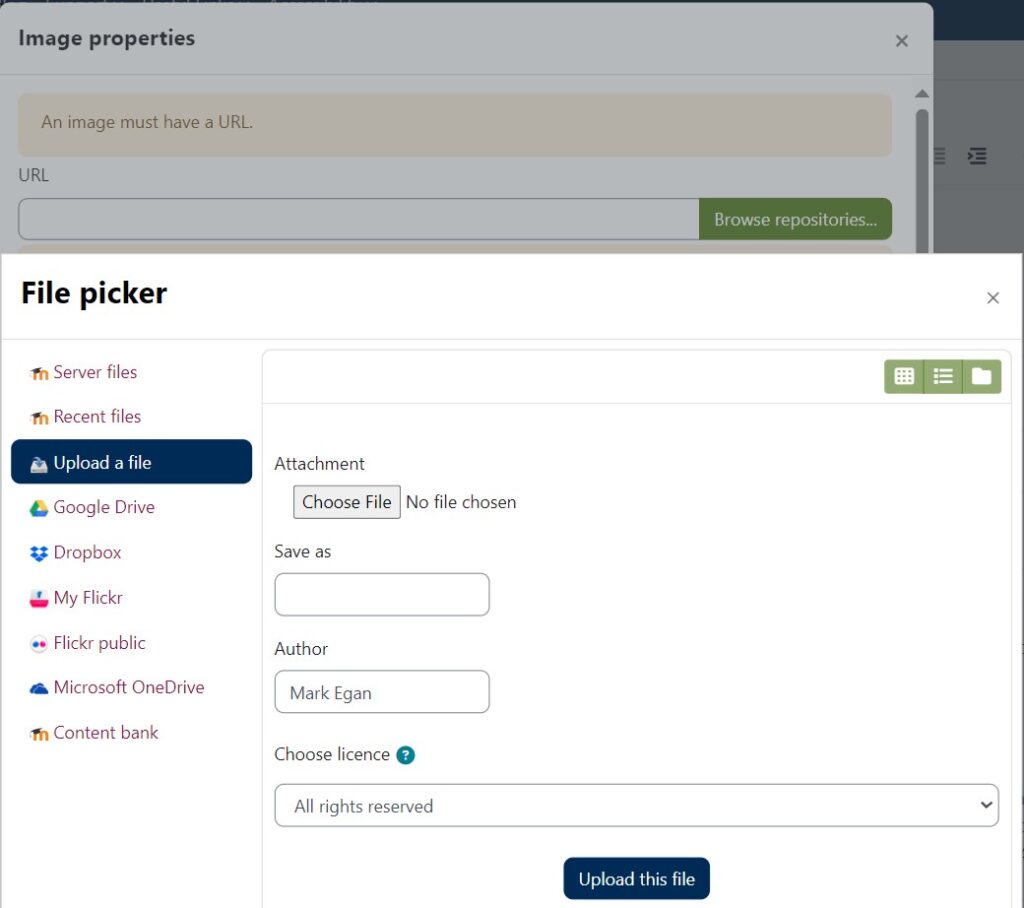
3: To include an image already uploaded to Moodle or saved on your computer, click the ‘Browse repositories’ button then select to view server files or upload a file as appropriate:
1: Click the multimedia icon
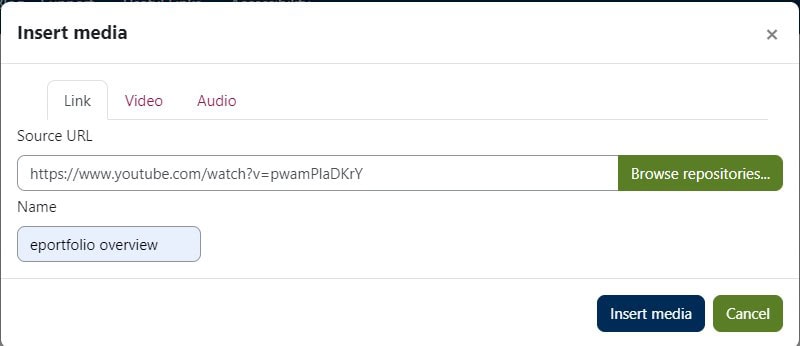
2: To add a video from an online source (E.g. YouTube or Vimeo), paste the full URL of the video into the ‘Source URL’ field, enter a name for the video and click the ‘Insert Media’ button.
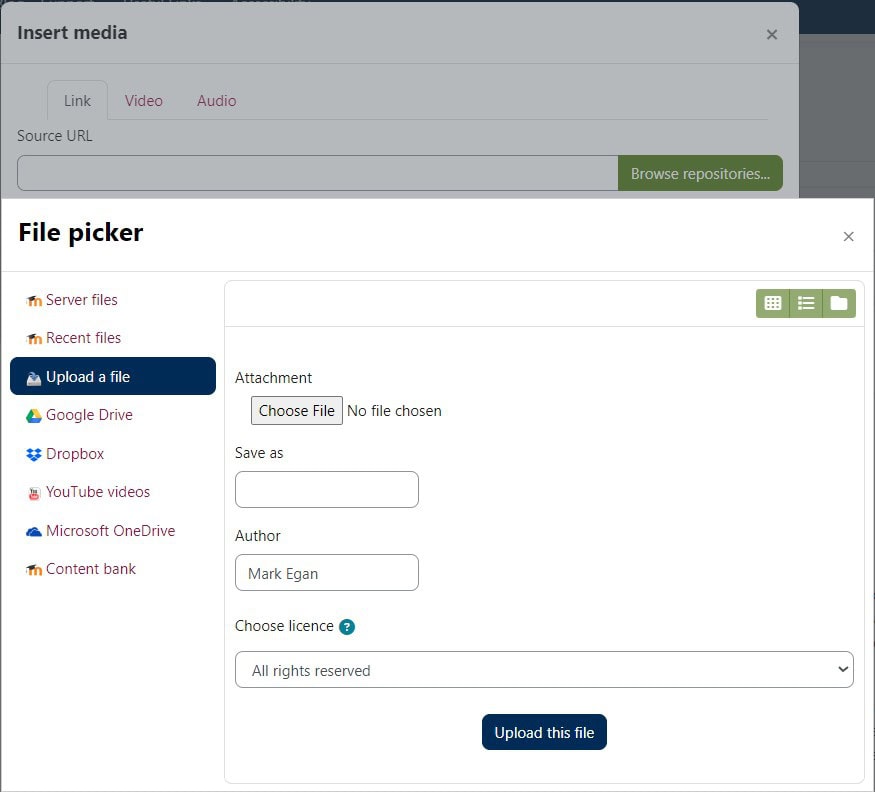
3: To add a video already uploaded to Moodle or saved on your computer, click the ‘Browse repositories’ button then click to view ‘Server files’ or select to ‘Upload a file’:
1: Click on the button table > then select the number of rows and columns you need
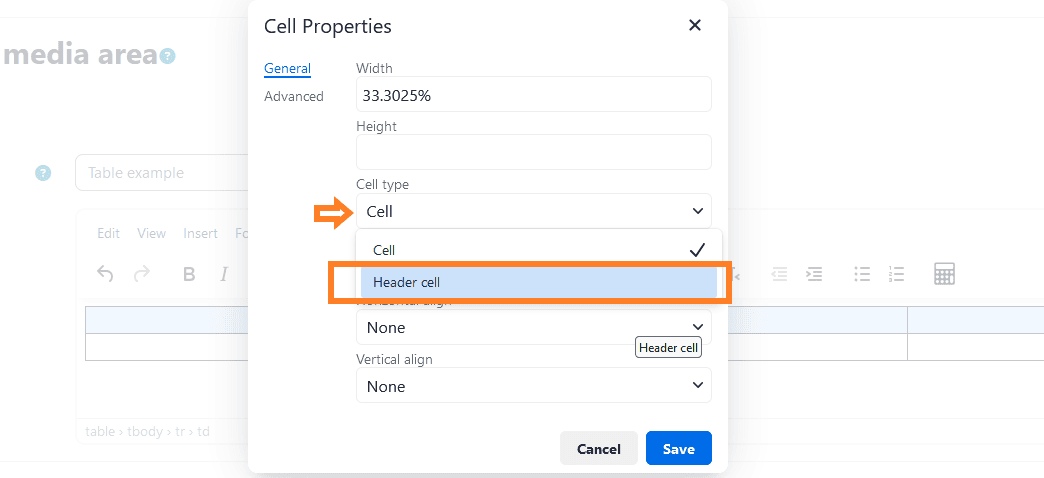
2: Select the cells that will be set up as headers of the table, then go to the menu, click table > Cell > Cell properties
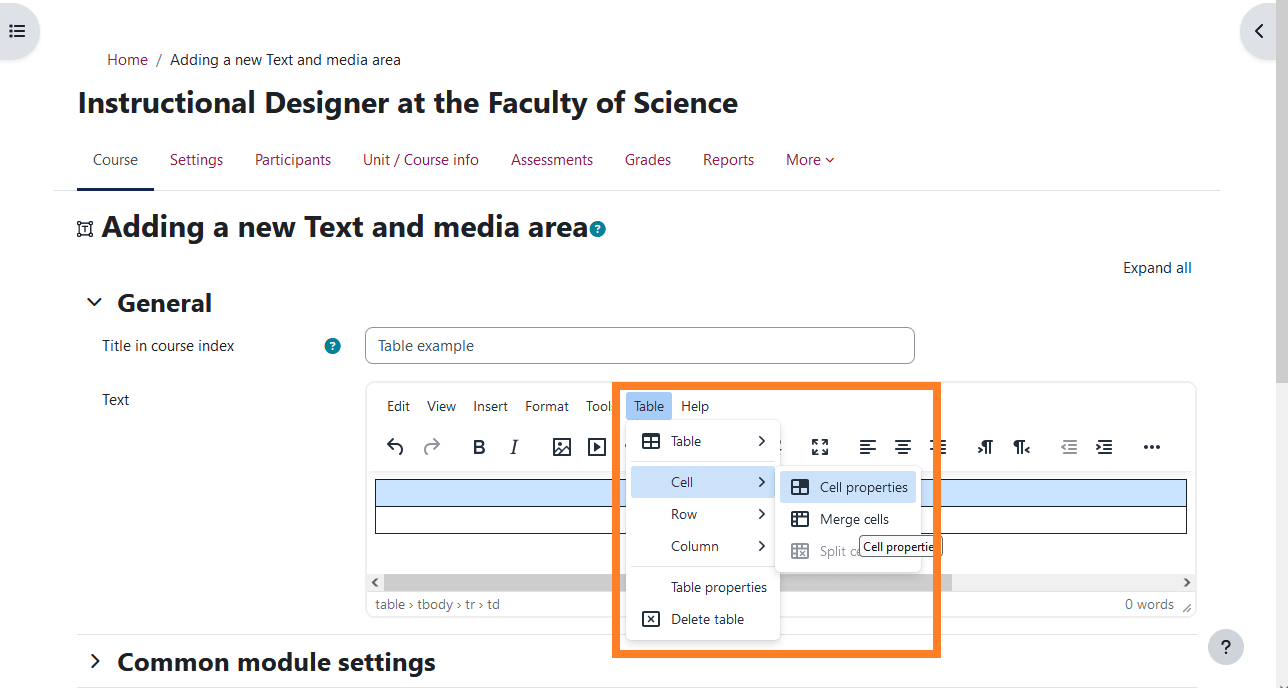
3: Then in the new pop up window select Cell type > Header cell
For step-by-step guidance with TinyMCE’s formatting options (including lists and tables) see this full guide.
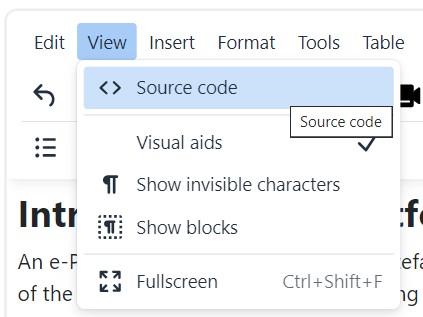
View content as HTML
If you are already familiar with HTML, or are pasting content from online sources, it can be helpful to use TinyMCE’s ‘Source code’ view:
Built-in tools
TinyMCE includes four tools to improve your editing experience and the quality of your content. Expand a section for more information:
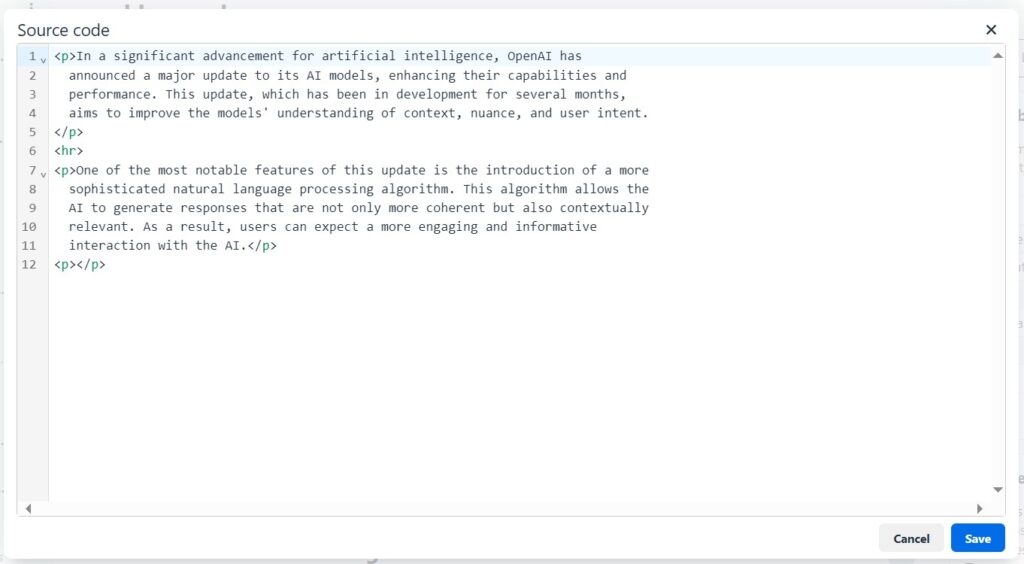
Select the Source Code tool to view and edit the source code for the current content. This can be useful for troubleshooting and if your content includes specific notation:
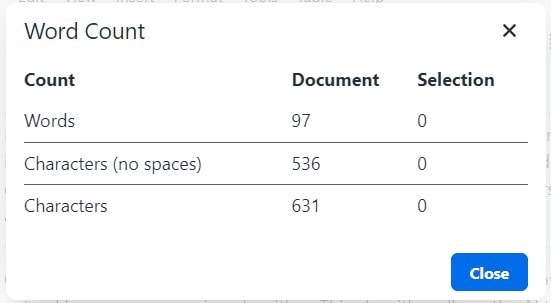
Select the Word Count tool for a quick tally for the current content:
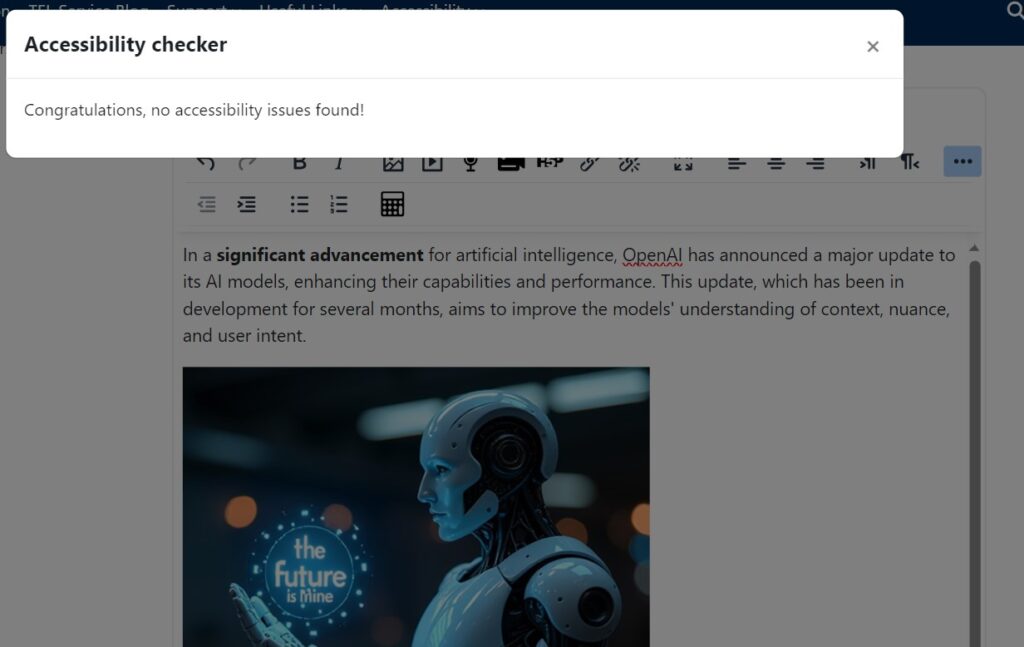
Select the Accessibility Checker tool to perform a quick accessibility check on the current content. This is particularly useful if your content includes a mix of content types and formatting (E.g. coloured text, images and videos):
The checker assesses text alternatives for images and non-text content. This ensures that users with visual impairments can understand the context through descriptive alt text. Secondly, it evaluates the use of headings to confirm a logical structure, which is crucial for screen reader navigation. Proper heading hierarchy aids users in comprehending the content flow.
Moreover, the tool checks for color contrast, ensuring that text is legible against its background. This is vital for users with color blindness or low vision. Additionally, the checker identifies keyboard accessibility issues, ensuring that all interactive elements can be navigated without a mouse, which is essential for users with motor disabilities.
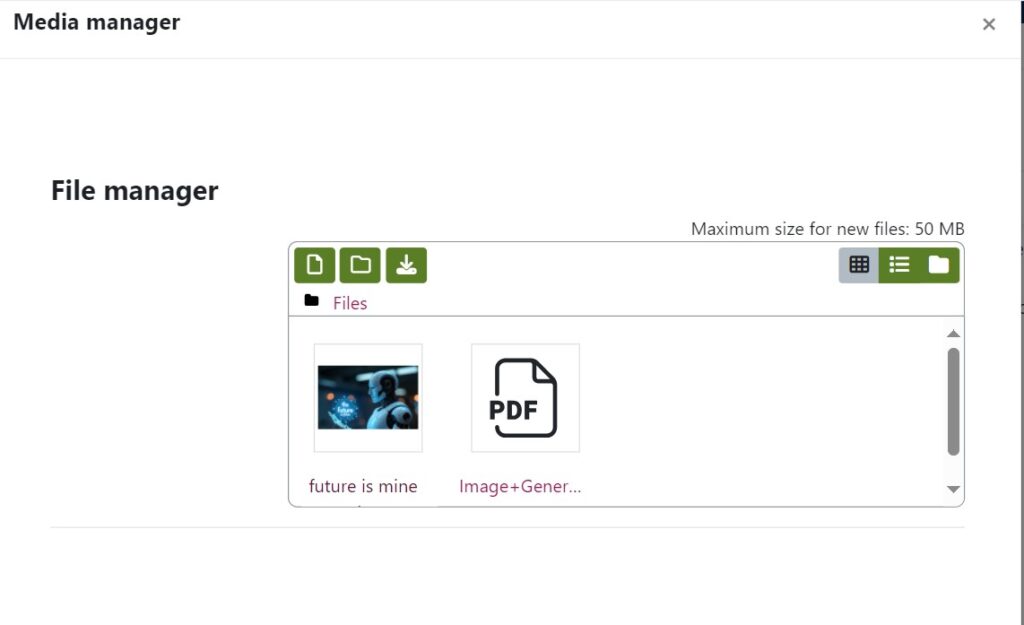
The Media Manager is useful when you need to include a number of media files with your current content. From here, you can add, organise and download individual media files:
Keyboard Shortcuts
Below are the main keyboard shortcuts used by TinyMCE. For a complete list of shortcuts, see the Moodle TinyMCE documentation
| WINDOWS | MAC | OPERATION |
| Ctrl + Shift + f | ⌘ + Shift + f | Full screen toggle |
| Ctrl + c | ⌘ + c | Copy |
| Ctrl + v | ⌘ + v | Paste |
| Ctrl + Shift + v | ⌘ + Shift + v | Paste without formatting (very useful) |
| Ctrl + x | ⌘ + x | Cut |
| Ctrl + z | ⌘ + z | Undo |
| Ctrl + y | ⌘ + y | Redo |
| Ctrl + a | ⌘ + a | Select all |
| Ctrl + f | ⌘ + f | Find and replace |
| F3 | Find next | |
| Shift + F3 | Find previous | |
| Ctrl + b | ⌘ + b | Bold |
| Ctrl + i | ⌘ + i | Italics |
| Ctrl + u | ⌘ + u | Underline |
Hints and tips
The version of TinyMCE found in Moodle is not necessarily the ‘latest’ version of the application, and only includes plugins authorised by the University. Please bear this in mind when viewing general information online.
For distraction-free editing, click the FULL SCREEN icon on the toolbar:
To visually divide your content and improve accessibility, add simple horizontal line separators:
