Published on: 11/10/2023 · Last updated on: 29/07/2025
Managing Moodle Blocks
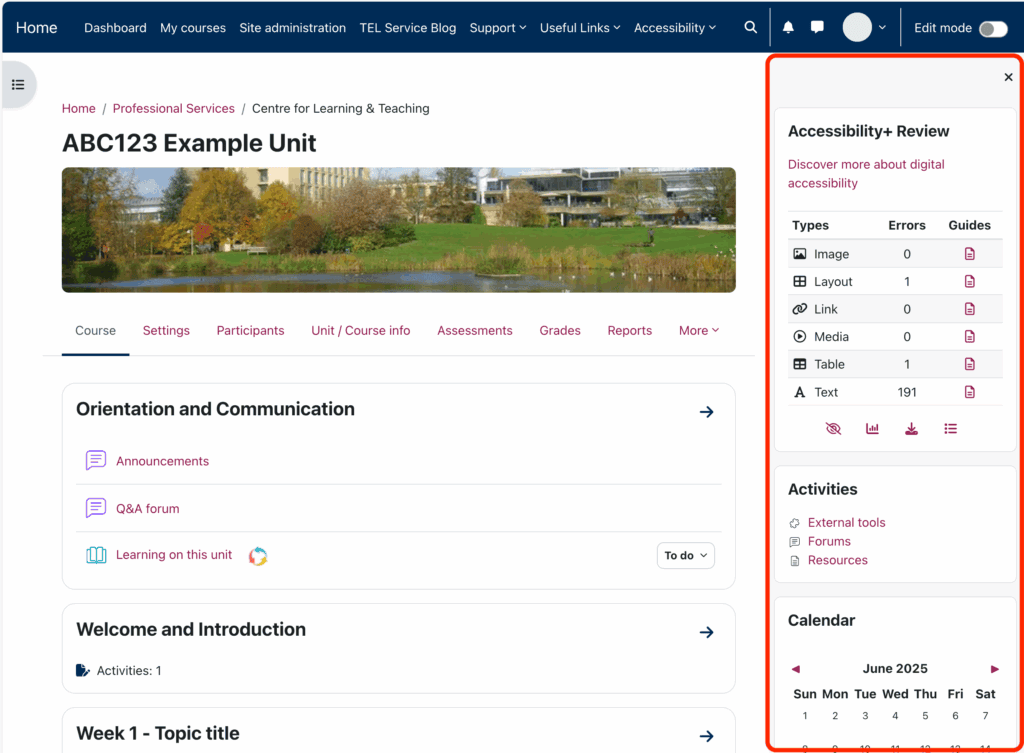
Moodle Blocks appear on the right side of the content area and can be customised in a range of ways (depending on what each block is designed to do). They can be added and rearranged when in Edit mode. Blocks allow staff and students to locate key information more easily.
Accessing blocks
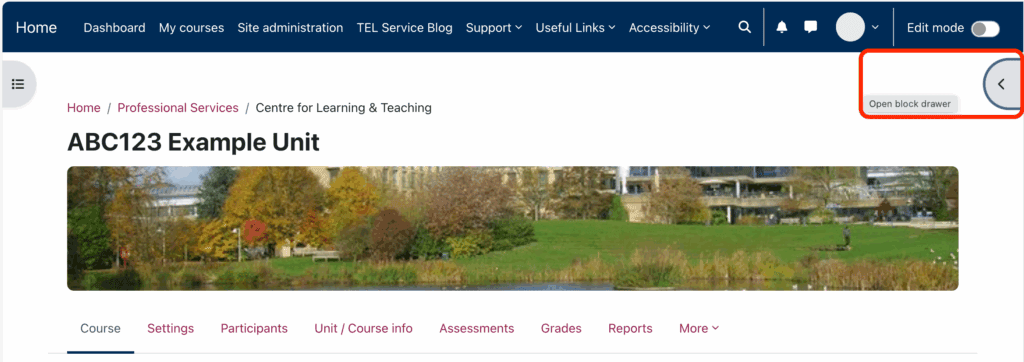
To view the blocks on your Moodle space click on the arrow on the top right of your screen to open the Block Drawer.
Adding a new block
To add a new block:
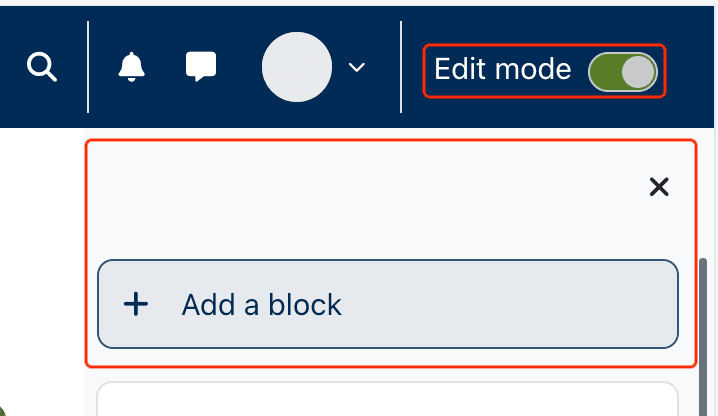
- Toggle Edit mode on.
- Open block drawer (if not yet opened).
- Click on “+ Add a block”.
- 4. Select the new block you want to add. That block will now appear on your block drawer.
Configuring / editing a block
To configure or edit a block:
- Toggle Edit mode on.
- Open block drawer (if not yet opened).
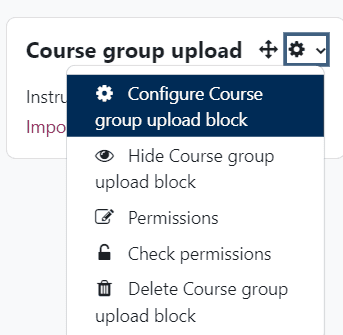
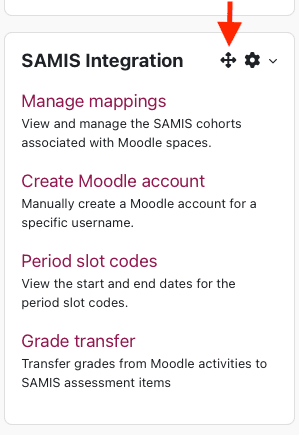
- Click on the cog icon for the block you want to configure.
- Select the appropriate function.
Moving blocks
Where there are existing blocks in the Moodle space, they can be moved and rearranged in the Block Drawer.
To move a block:
- Toggle Edit mode on.
- Open block drawer (if not yet opened).
- Click and hold down on the 4-arrow cross of the block you want to move. You can now move this block in the block drawer.
Useful Blocks
By default, there are five blocks present on Moodle spaces:
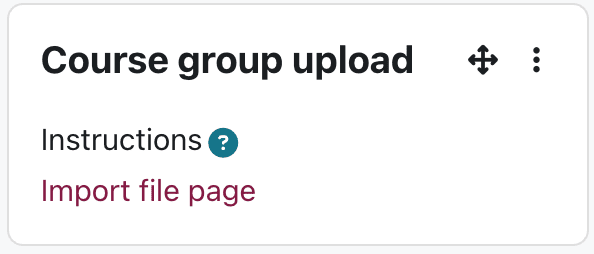
Course group upload block
This block allows you to upload a file with a list of group members to your Moodle space to automatically create groups or assign students to groups accordingly. See How to Import group members from a .csv file for detailed instructions.
Additional Blocks
In addition, there are many other blocks, further documentation can be found on the Moodle Docs website.