Published on: 23/09/2023 · Last updated on: 02/09/2024
Diagnostic Tool Content Management System (CMS)
This guide will help you use the CMS to create a self-assessment tool that allows students to gauge their confidence in the skills, needs, preferences and competencies required for their course, placement or future employment. The self-assessment will enable students to develop a plan to build these skills and competencies while completing their studies.
Getting started
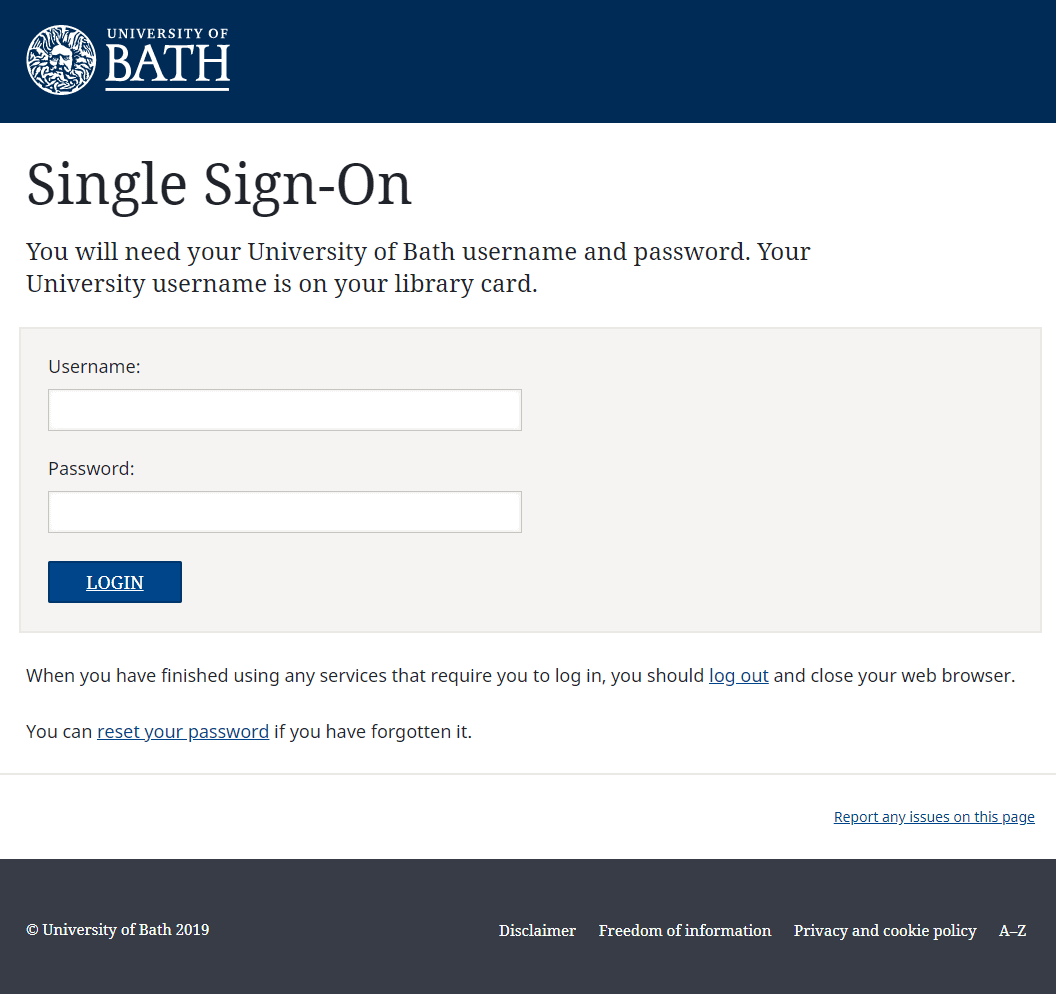
To access the Diagnostic Tool CMS, use your University of Bath single sign-on credentials to log in. This will allow you to sign in with your university username and password.
CMS Roles
The CMS has 4 different roles that provide varying levels of access and functionality. The first three roles – Viewer, Creator, and Space Admin – are hierarchical, each building on the capabilities of the previous role. The fourth role, Co-author, is focused on enabling collaboration among staff members. It allows sharing of access to both the diagnostic build and the response data generated from it. This facilitates cooperation among staff using the CMS.
On accessing the CMS, you will automatically be enrolled in the Viewer Role.

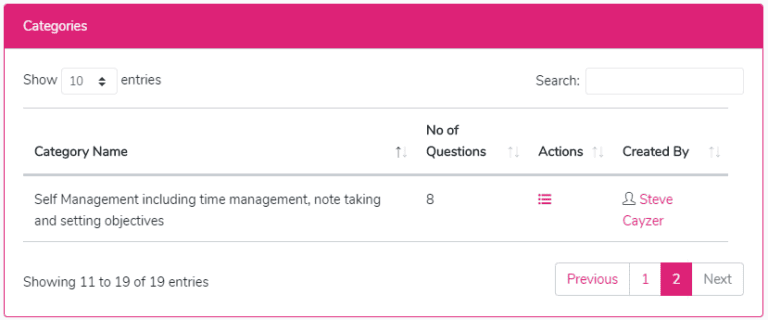
This role allows you to view all current Categories and associated Questions.

When you are ready to start to create questions use the Upgrade button to move to the Creator Role.
This role means that you can now – Create, Edit and Delete your own Questions and Categories.
Creating Categories
In creating good categories for your diagnostic here are some guiding rules:

- Ensure your categories are clear and unambiguous
- Ensure your categories relate to a single skill / attribute / competency
- Check that a similar category, which you could use, does not already exist
Where a Category has a question(s) created by another user or where the Category is used in a Diagnostic, the category will be locked (from editing or deletion).
If the Category isn’t locked and was created by you then you will be able to Edit and Delete the Category.
Creating Questions
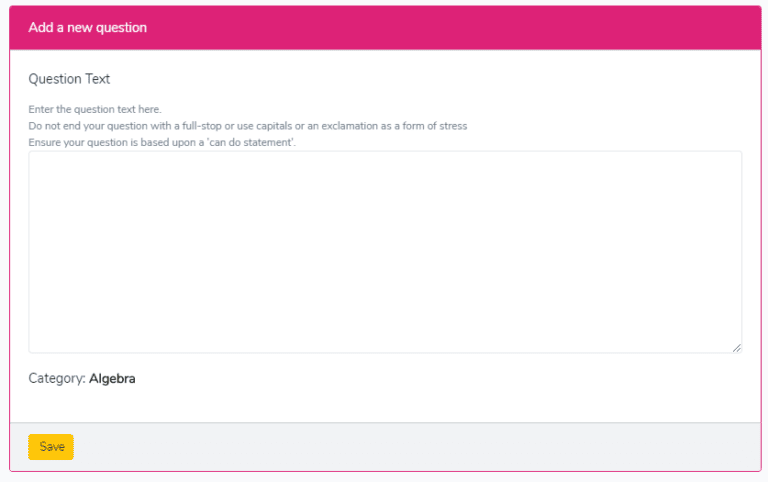
In creating good questions for your diagnostic here are some guiding rules:
- Ensure your questions are clear and unambiguous
- Ensure your questions relate to a single skill / attribute / competency
- Your students should be able to answer your questions instinctively
- Your students (and you) should learn something from their responses
- Every question should be directly related to the resources provided in your diagnostic
Where a Question has been created by another user or where the Question is used in a Diagnostic, the Question will be locked (from editing or deletion).
If the Question isn’t locked and was created by you, then you will be able to Edit and Delete the Question.
You are also able to Copy an existing question and put this into a new category.

When you are ready to start to create your diagnostic use the Upgrade button to move to the Space Admin Role.
This role means that you can now – Create your own Diagnostic Tool.

To start creating your diagnostic first select the Add a new diagnostic.

You will then be directed to the Add a new Diagnostic homepage. This contains 4 fields, which you will need to complete. If you are unsure about where these fields appear on the diagnostic, or are simply looking for suggested text, then open the Diagnostic Demo to see the fields/text.

- The first requirement is the diagnostic name.

- You will then need to add the homepage text. This should be used to explain the purpose of the diagnostic (what you expect the student (user) to do and what they will get from doing so).

- You will need to upload an image for your homepage. You can create your own WordCloud free online.

- You will need to then add the Contact Details. This is used by a student (user) with queries with or issues about the diagnostic. You should put your details here, as the diagnostic ‘owner’.

- You will need to a 2 final pieces of text. The first, the Next Steps Introduction Text, is the advice text for the student (user) about selecting their Areas for Development. The second, the Next Steps Final Text, is the instructions for the student (user) on what to do next.

Once all these fields have been completed you should then save this content. You can elect to either save and return to the CMS Dashboard or save and continue to build your diagnostic.

The next part of creating your diagnostic is to complete the questions, recommendations and resources page.
On this page you will need to select the categories you want to include, the associated questions and complete recommendations text and resources for 3 levels of confidence – high, reasonable and low.

Firstly, you should select each category you wish to include, and select the 8 associated questions, using the checkboxes.

For each Category selected you will need to complete the recommendation text and add resource text, and URLs (where applicable) for each of the 3 levels of confidence – high, reasonable and low.
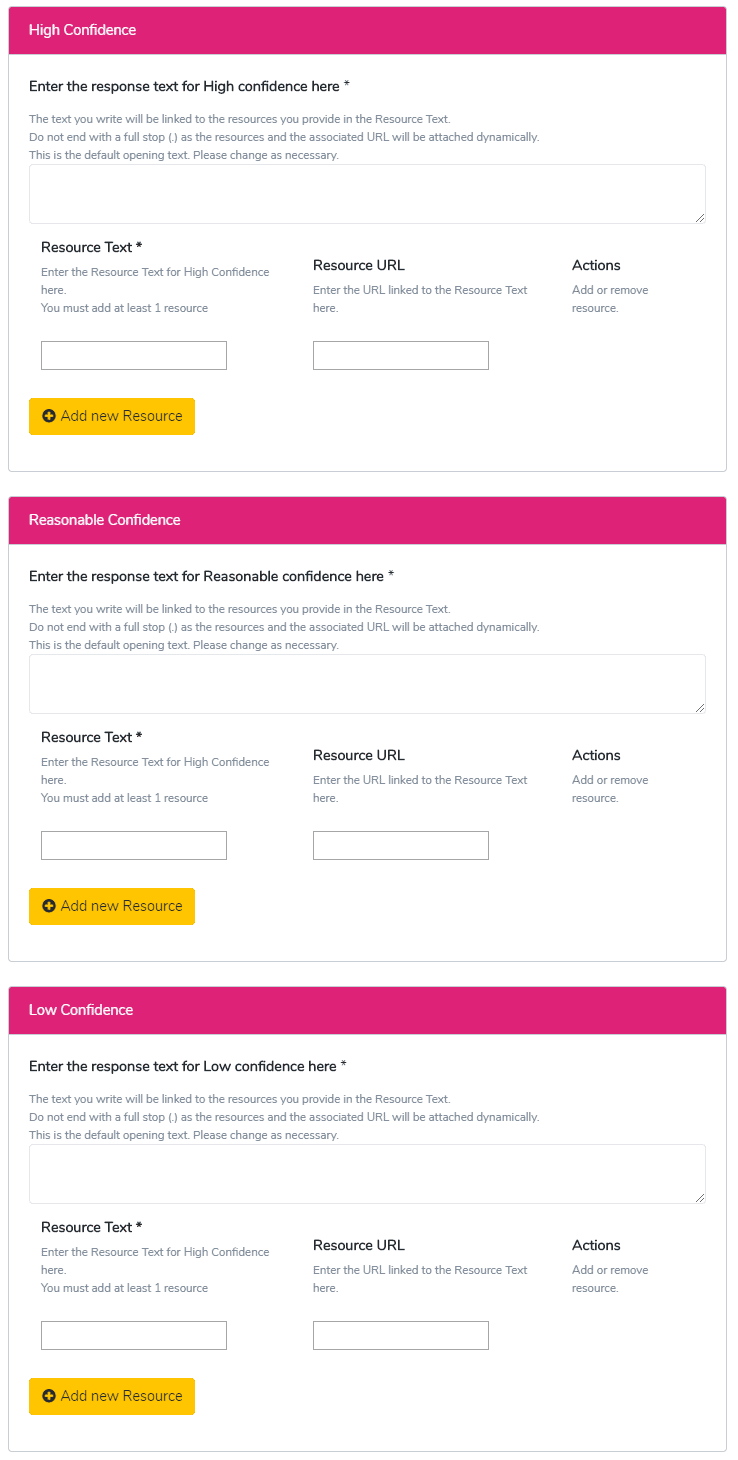
You must complete the category selection, question selection, response text, resource text and url for high, reasonable and low before saving. Any text can be changed/edited before publishing.
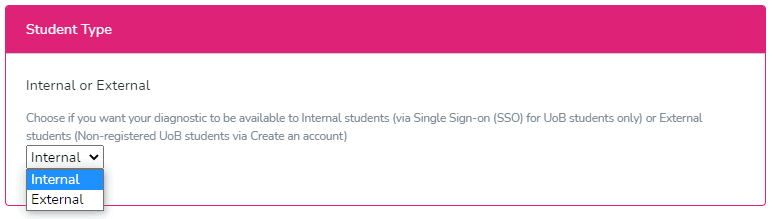
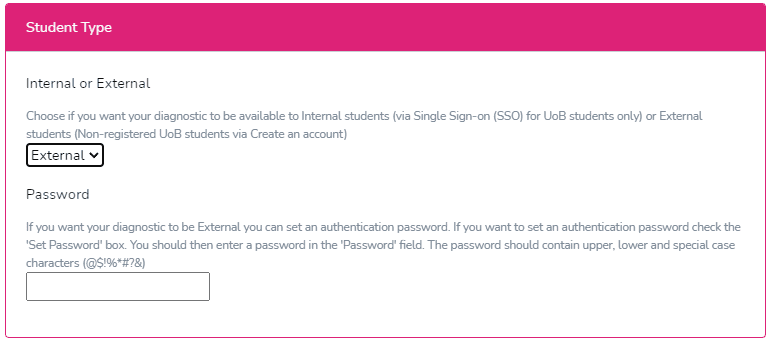
You now need to specify whether you want your diagnostic to be available to Bath Students (or Staff)- Internal, via Single Sign-On (SSO), or to External Students (or other users), via a registration page. The default here is Internal.
If you choose External, you have the added option of adding a password.
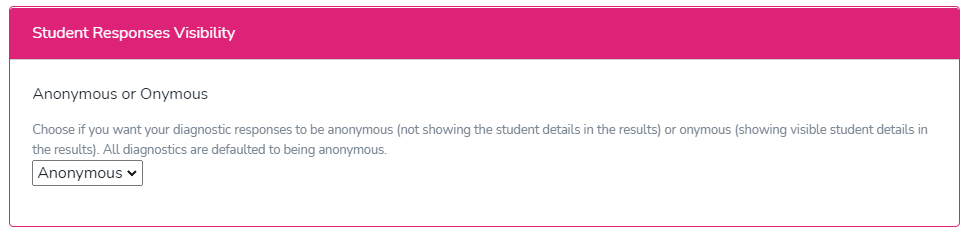
You now need to specify whether you want your diagnostic to record user details – Onymous, or hide the user details (reporting an autogenerated user ID per user) – Anonymous. The default here is Anonymous.
Once all these fields have been completed you should then save this content.


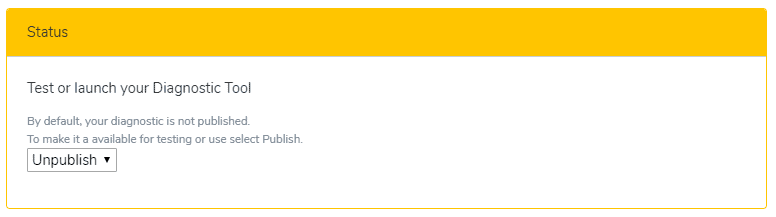
Your diagnostic is now saved. Once a diagnostic is built the default setting is Unpublish(ed). This means that it has not been published (not live).
You will now see that your diagnostic appears in your Space marked as Disabled.

When you are ready to test your diagnostic, you will need to return to the Questions, Recommendations and Resources page and change the Status of your diagnostic from Unpublish to Publish.

You will now see that your diagnostic appears in your Space marked as Live.

You can now use the URL generated to share your diagnostic. The first thing you should do is check everything appears as intended, then share your diagnostic with colleagues and students for feedback.
As well as building diagnostics by yourself you can also build diagnostics as a team. You can do this by assigning Co-authors to your Diagnostic (Space).
You can only add users who have a role of Space Admin.
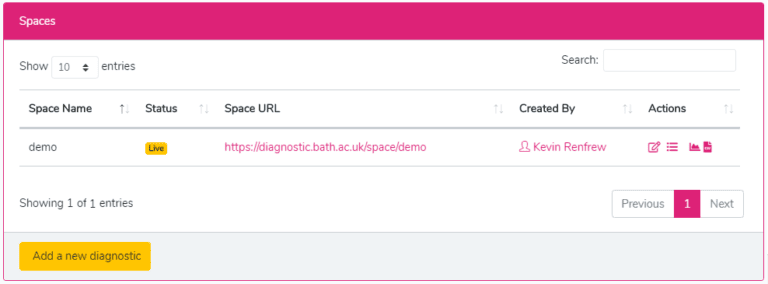
To add a co-author, go to Spaces and select the expand button and select the add co-author icon button from the Actions column.

You are now ready to Add a (new) co-author.

Select the Add new Co-author button and select and save the co-author(s) you want to add to your diagnostic. You can either use the search field or choose from the alphabetised list.

You can add as many co-authors as you like.

To delete Co-authors, select the delete icon and confirm delete co-author.

Co-authors share all of the same role attributes of a Space Admin.
Testing your diagnostic
Once you’ve created your diagnostic and Published it (made it Live), the next thing to do is to test it. Testing should be undertaken for a number of reasons including:
- proofing text
- checking all resource URL links
- getting colleague and student input on orientation text, questions, resources and next steps
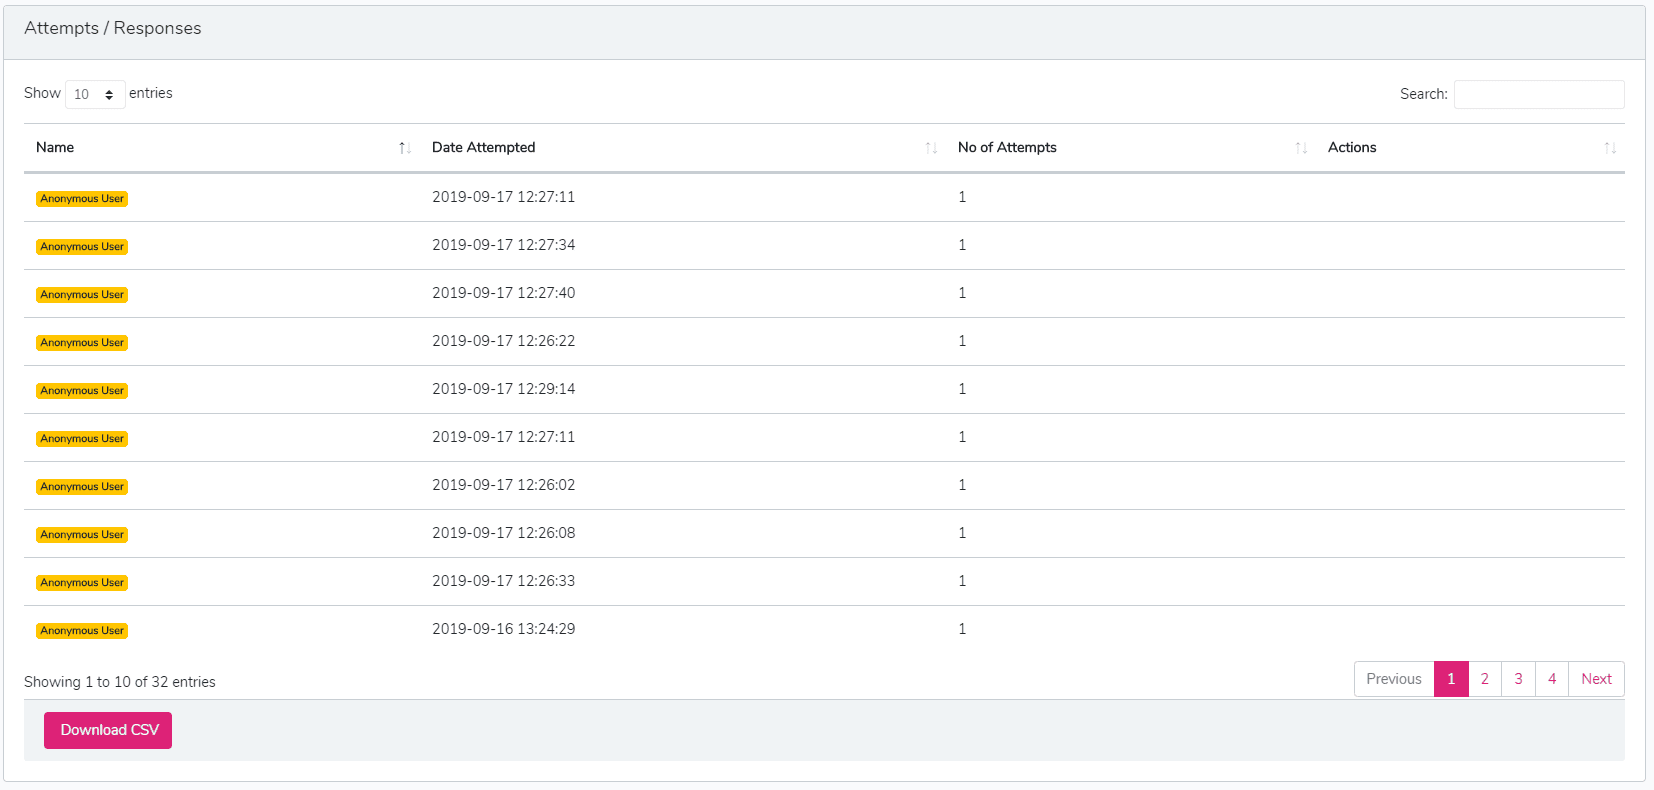
Checking response data
As part of the testing, you can use the user data to also check the response data. You can access the response data from the Spaces section of the Diagnostic CMS by selecting the data icon from the Actions column.

You can access the student (user) response data using the Response Dashboard. Here you will be able to see the data represented both visually and as numeric data in 6 ‘decks’: Summary Stats; Confidence response levels by question (per Category); Confidence response levels by category (per Space); Overall weighting by question (per category); Overall weighting by category (per Space) and Checked Responses by Category (per Space).
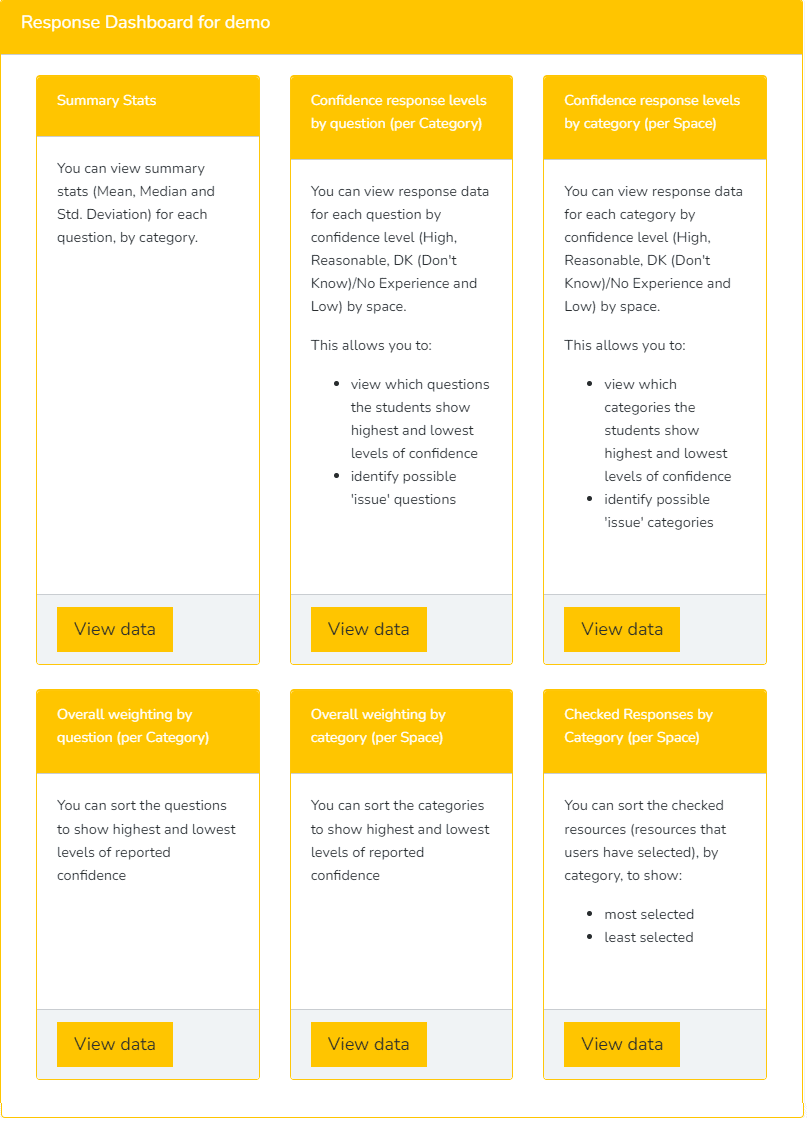
Each ‘deck’ contains the data and a dynamic visualisation of that data, for you to analyse.

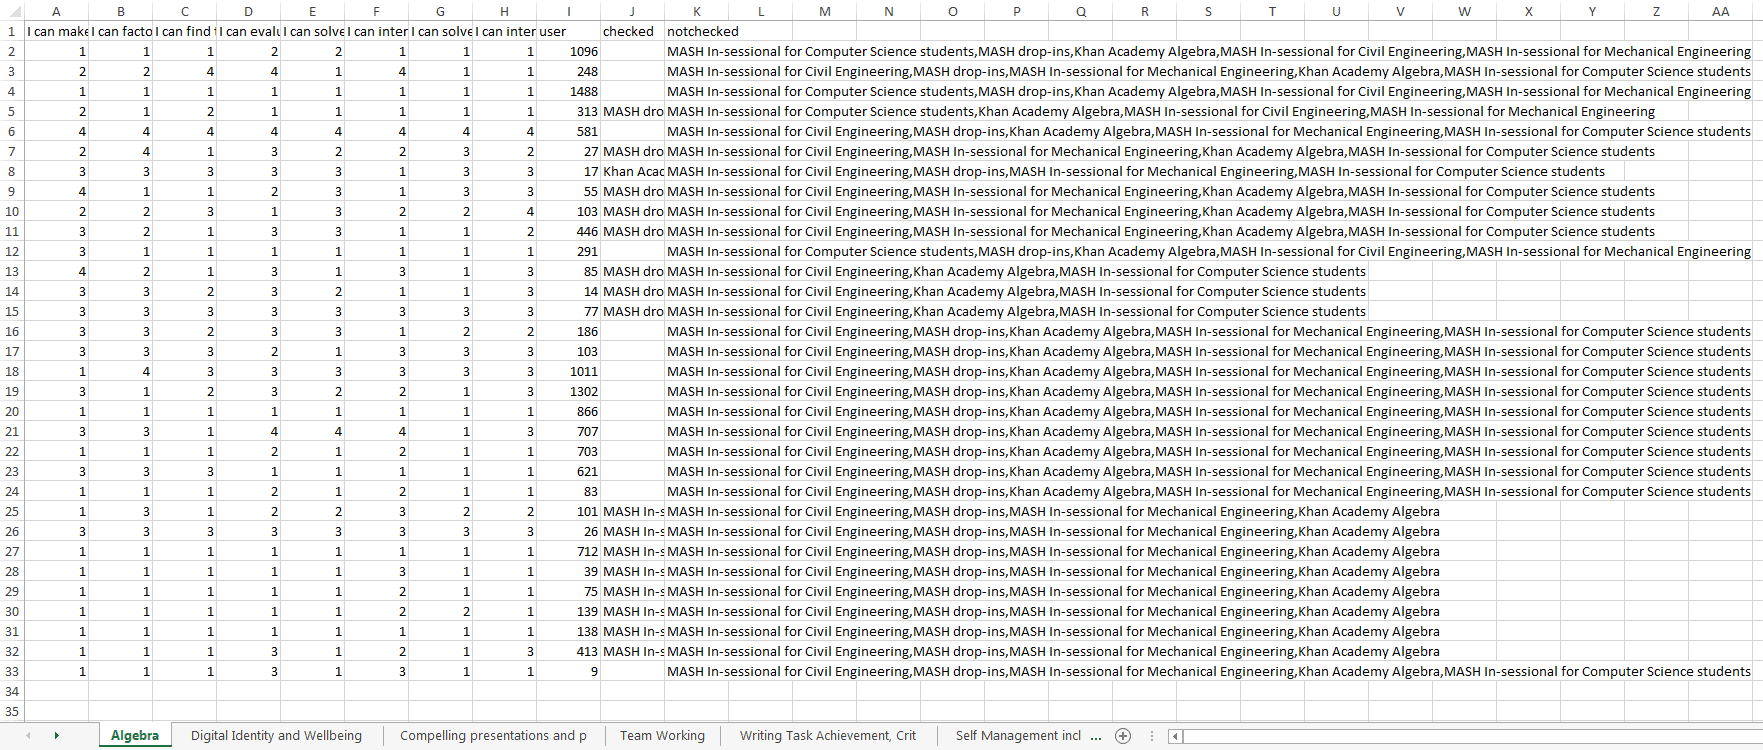
You can also download the response data in a Comma Separate Values (CSV) file (Excel) should you wish to do any alternative analysis.
The downloaded file provides all student (user) response data. This data is separated by Category, providing the student ID, each question and the student response (1=High, 2 = Reasonable, 3=Don’t Know or No Experience & 4=Low) and resources selected (Checked) and not selected (Unchecked).
Purging Results
Once testing is completed you:
- may need to edit your diagnostic
- be ready to deploy your diagnostic to students (users)
Either way you will need to Unpublish your diagnostic.
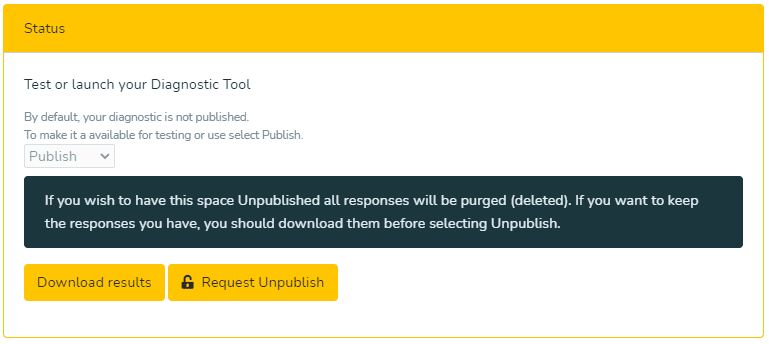
By selecting Unpublish this will generate an email requesting your diagnostic be disabled. As part of this process all response data will be purged (deleted).
If you make edits to your diagnostic, then it is recommended that you to go through the testing process again.
Once testing has been completed, and all response data has been purged, your diagnostic is ready to be be deployed.
Deploying your diagnostic
How to give your students (users) access to your diagnostic.
Connecting your diagnostic to the students (users)
To deploy your course, you need to publish it to make it Live. Once it is Live you can use the URL for your course found in Spaces.
This can be embedded in a Moodle Course, on a Xerte LO, shared directly by email or via Social Media on embedded using a QR Code for poster, brochures or handouts.
Diagnostic student interface
What Internal and External users will see. You can use this information to provide student-facing guidance.
Internal Student Interface
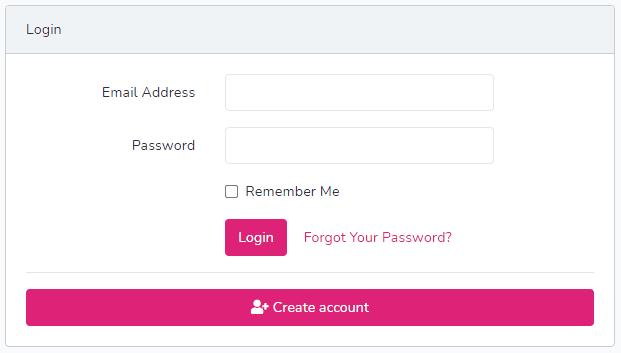
All students accessing an Internally deployed diagnostic will be directed to to the Universality’s SSO page when they select the Begin Assessment button.
Once signed-on the students will be taken directly to the first page of the diagnostic. If you get reports that students do not see this, then direct them to the University’s Virtual Private Network (VPN) guidance.
External Student Interface
All students accessing an Externally deployed diagnostic will be directed to to the External Login and Create Account page when they select Begin Assessment button.
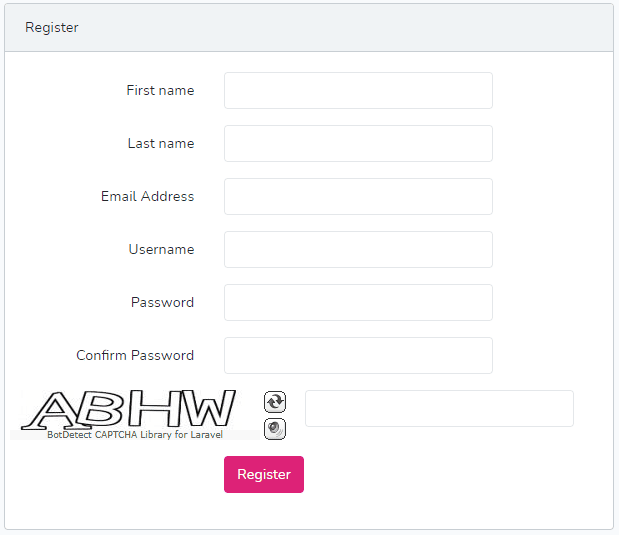
If the user has not already registered, they will need to select the Create Account button and complete the registration form.
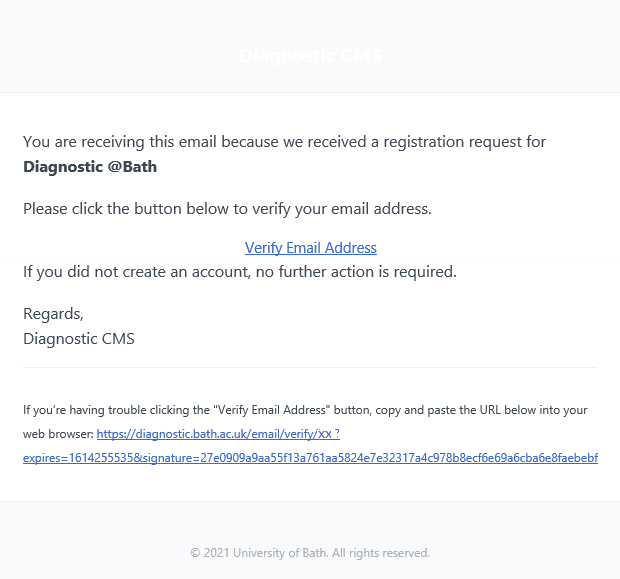
Once completed, the student will receive a Verify Email Address notification.

A secure, time limited, link will be emailed to the email address provided. The student will need to verify their email address using this link.
Once verified the student will be taken directly to the first page of the diagnostic or if an External user Password has been set to the External User Password page.

Once the password has been correctly entered the student will be taken directly to the first page of the diagnostic.
Diagnostic response data
Analysing the student (user) data.
Student data analysis
Once deployed you can view the student (user) response data using the Response Dashboard throughout the deployment of the diagnostic, and download the student (user) response data in csv format.
This data:
- includes number of users
- can be used to identify Categories / Questions where the highest percentage of students identify as having High Confidence and Low Confidence, which in turn can be used to inform support provision
- question Mean, Std. Deviation and Median
- can be used to track confidence levels against Area of Development (planning)
- can be used in a test retest to measure individual and group changes in confidence reported